In this post you will learn how to add custom arrows to your Gutenslider. You can then use the arrows in all your sliders on the same page. You will learn:
- How to format your svg arrow files to seamlessly integrate with the backend
- How to write a WordPress filter to add your arrow to the Gutenberg UI Backend
- How to select your arrows for the new Slider
Depending on the complexity of your SVG and your knowledge this will take you probably 15-30min.
Custom Arrows is a Gutenslider Pro feature
Step1 – Preparing the SVG Graphic
For custom arrows, you will usually want to choose two svg graphics. One for the previous-arrow and one for the next-arrow. You can of course only pick / select one and mirror it then. For demonstration purposes we will use Adobe Illustrator for vector graphic manipulation but you can of course use other tools.
Trimming
After opening the svg, you will want to make sure no useless data is included. It will clutter the svg code you need later for integration into the slider. So on the layers view on the right, make sure no extra clipping paths, or layers are visible. If they are, you can delete them.
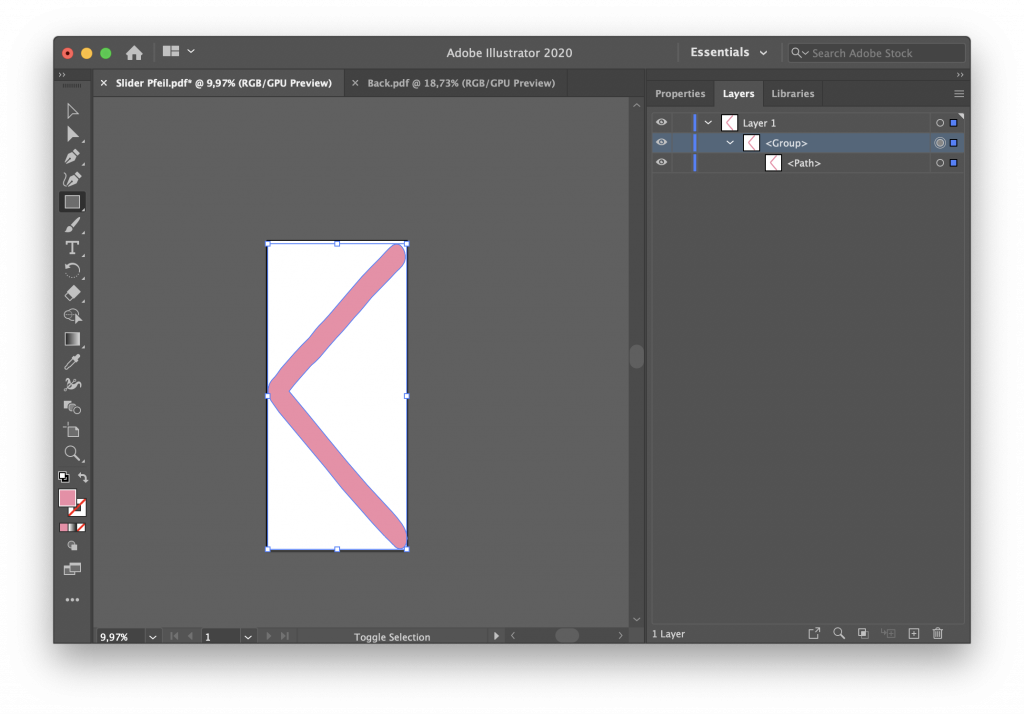
Object -> Artboards -> Fit to Artwork bounds.Exporting / Copying the svg code
To export the svg file: File -> Export -> Export As... then select SVG in the dropdown and the following window will appear.
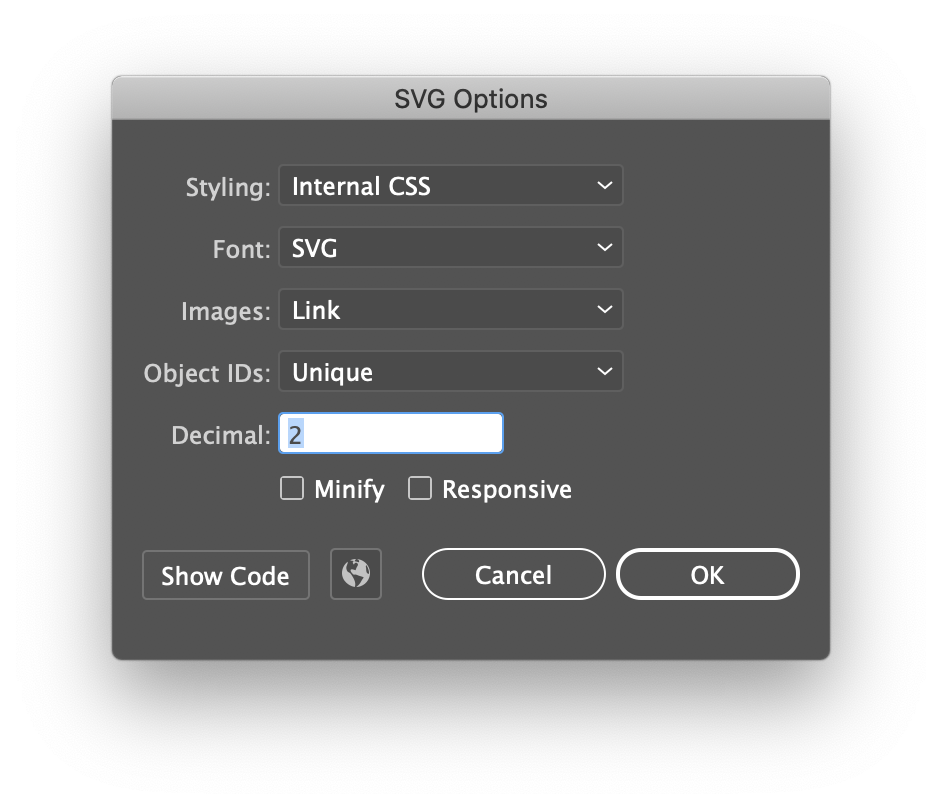
You can leave all the settings as they are by default. You will not need the file, but only the code later, so you can click on Show Code to see the svg code and copy it to your dashboard.
Write a WordPress filter to add your custom SVG to Gutenslider
Gutenslider provides a filter called gutenslider_arrows which you can use to change the array of arrows provided by Gutenslider. After integration, Gutenslider UI will automatically show the selection option in the Block Settings and you can choose your newly generated arrows.
You need to add the following php code to one of your theme’s .php files (if you are a beginner, you can safely add it to functions.php in your theme base directory.
function my_custom_arrows( $arrows ) {
	$arrows[] = array(
		'value' => 'my-custom-arrow',
		'label' => 'Custom Arrow',
		'prev'  => '<your svg code for prev arrow here>',
		'next'  => '<your svg code for prev arrow here>',
	);
	return $arrows;
}
add_filter( 'gutenslider_arrows', 'my_custom_arrows' );
You see that it is straight forward. You create a filter function my_custom_arrows which changes the $arrows variable. The item you add is an array with the keys:
value | just an aribtrary id you can choose, it will be used in the backend logic when your block is saved |
label | the label that will appear in the arrow selector in the Gutenslider Block Settings Dropdown |
prev | the svg code for the previous arrow (see next step for example and formatting) |
next | the svg code for the next arrow (see next step for example and formatting) |
Save the file and continue with pasting your svg code to the next and prev sections. For a seamless integration please also see the next step on how to format your svg.
Formating your SVG
There are two things you want to take care of, before pasting your code:
- The size of the svg
- The color of the svg
We will refer to the following example code which was the one copied from the AI svg above.
<svg xmlns="http://www.w3.org/2000/svg" width="24" height="24" viewBox="0 0 817.95 1792.69"><path class="arrow" d="M824.62,1753.28c1.08,29.3-20.31,71.77-54.87,58.43-8.6-3.07-15.57-9.79-22.11-16.2-17.82-17.78-35-36.19-52.85-54-52.11-53.06-101.38-108.8-149.57-165.41q-52.1-58.76-104.08-117.6c-34-41.44-66.12-84.34-100.83-125.17-90.39-106.67-178.1-215.53-267.54-322.94C61,995,50.16,978.94,39.42,962.81,16.11,935.27.25,899.57,9.27,863.14c3.83-19.31,14.6-36,28-50,17-19,30.74-40.6,47-60.2,52.5-61.73,104.52-124,163.16-180,27.46-31.23,51.6-65.26,80.83-95,53.29-55.65,93.31-108.85,145.17-163.65,28.59-33.76,56-68.51,86.15-101,33.23-36,67.46-70.85,102.18-105.36,26.32-26.27,49.48-56.14,78.37-79.61C786.78.25,820,66,812.63,105.94c-1.46,34.29-27.58,56.91-50.62,78.87-47.17,50.21-96.72,98-143.59,148.47C583.28,371.41,553.39,414,517,451c-33.61,39.94-66.52,80.57-102.37,118.58-36.24,37.18-67.74,78.45-102,117.29-15.83,18.27-34.42,33.78-51.62,50.68-44.25,48.85-89.82,96.77-129.91,149.17,155.09,184,302,375.11,462.79,554.21,47.38,51.42,93.38,104.06,140.31,155.91C773.38,1641.63,822.89,1690.12,824.62,1753.28Z" transform="translate(-6.7 -21.54)"/></svg>There is a lot going on here but we marked the important parts.
To make sure the default size is correct, you want to make sure you have width and height properties in your svg and they are set to 24, which is the default width and height of all our arrows. If your dimensions are not 1:1 you can adjust accordingly. The user can still change the size in the backend. But this is to make sure that arrows are not inserted too big at the beginning.
Second, to allow users to select the arrow color from the Block Settings, you will want to make sure that all paths that show the arrow lines have the class="arrow" property applied.
There is one more class you can use: bg if you add this class to a path you will be able to change the svg color with the Arrow Background Color Setting in the UI later. If you have no background path you can ignore this.
Finishing Up
See your work in action.
If you have any questions and are a pro or expert user, do not hesitate to write us a mail to support@gutenslider.org. We are happy to help